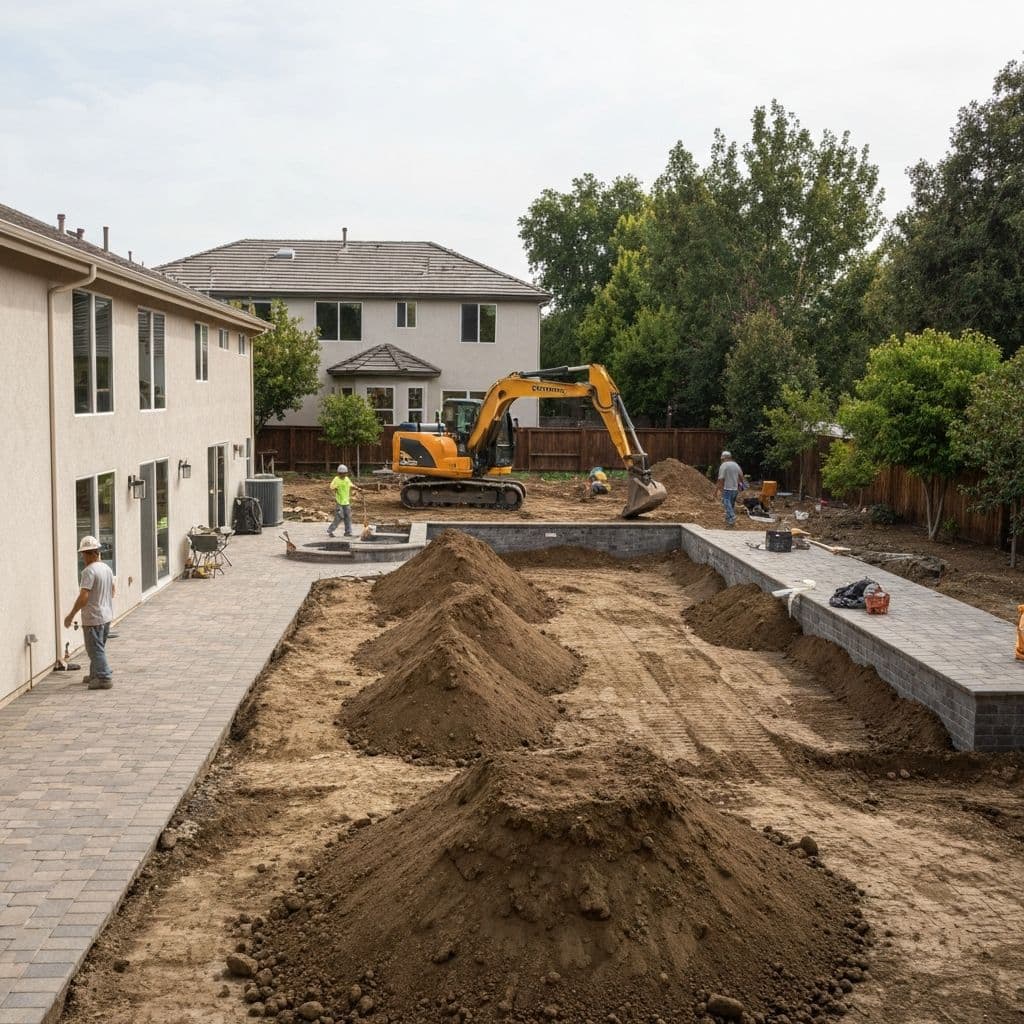
A whole-home remodel in Southern California runs $200 to $450 per square foot depending on scope and finish level, which on a 2,000 sq ft house is $400,000 to $900,000. The single largest avoidable cost on a project that size is sequencing error: doing finish work before infrastructure work, so that the infrastructure work later destroys the finishes. We regularly see 15 to 25 percent of a budget lost this way. The correct order is not a matter of preference. It follows from a simple rule: anything that opens walls, floors or ceilings must be complete before anything that closes them.
Phase 1: Investigate before you design
Before an architect draws anything, find out what you actually own. On a pre-1980 Southern California house, this phase costs $4,000 to $10,000 and routinely saves ten times that.
- Structural assessment. Foundation condition, whether the house is bolted to it, post-and-pier versus slab, and what the load paths are. This determines what walls can move and what a second storey would require.
- Sewer camera. Cast iron and clay laterals in Mar Vista, Eagle Rock, Pasadena and much of the older Westside are frequently at end of life. Replacement is $8,000 to $30,000 and is far cheaper before finished floors go in.
- Electrical panel and service. Read the main breaker. Knob-and-tube or cloth-wrapped wiring anywhere means a full rewire, $12,000 to $30,000 on a 2,000 sq ft house.
- Hazardous materials testing. Asbestos in floor tile, mastic, ceiling texture, duct insulation; lead paint on pre-1978 trim. Testing is a few hundred dollars.
- Roof condition and age.
- Drainage and grading. Where does water go in a January storm.
Every one of these findings changes the design or the budget. Discovering them after the drywall is up changes the project.
Pro Tip
Do not skip the sewer camera. It is the cheapest test on this list and the most consequential when it fails.
Phase 2: Structure, roof and envelope
Nothing goes inside a building whose shell is not sound and dry.
Order within this phase:
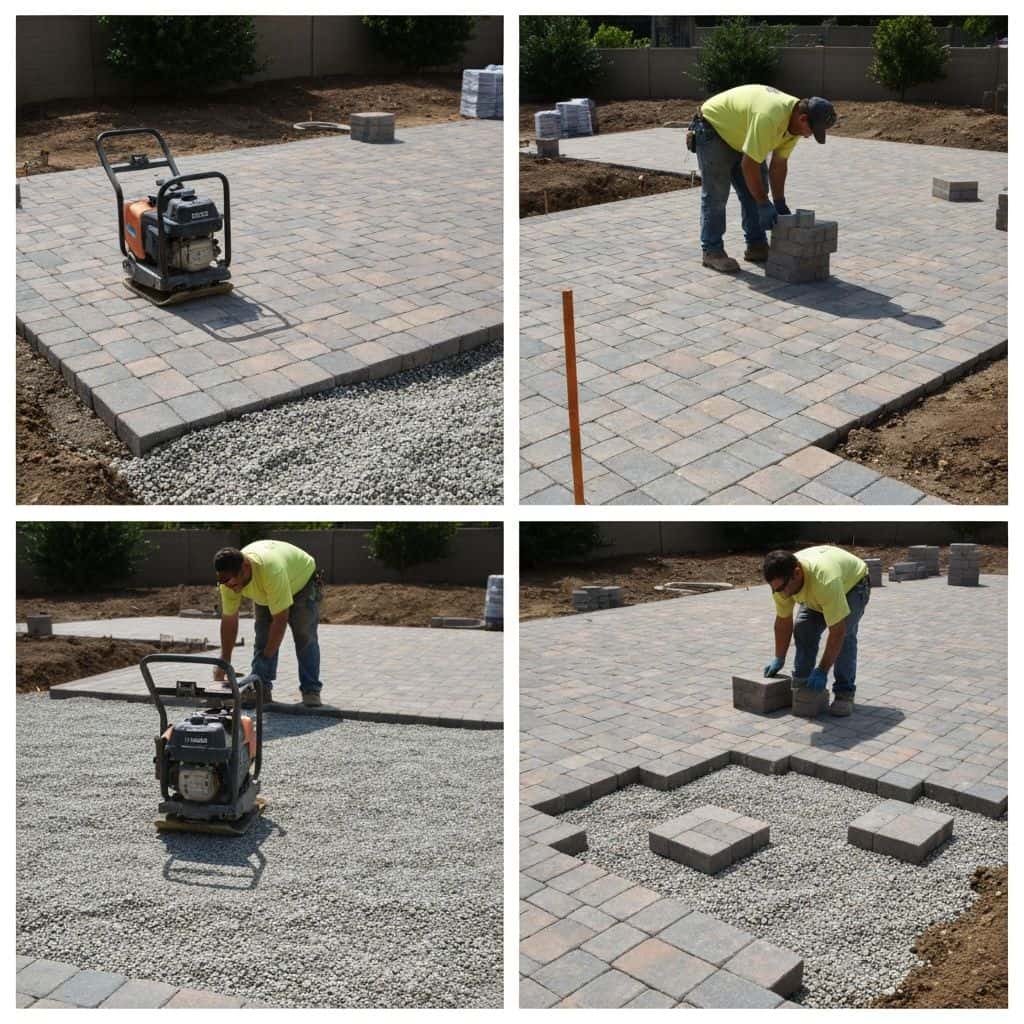
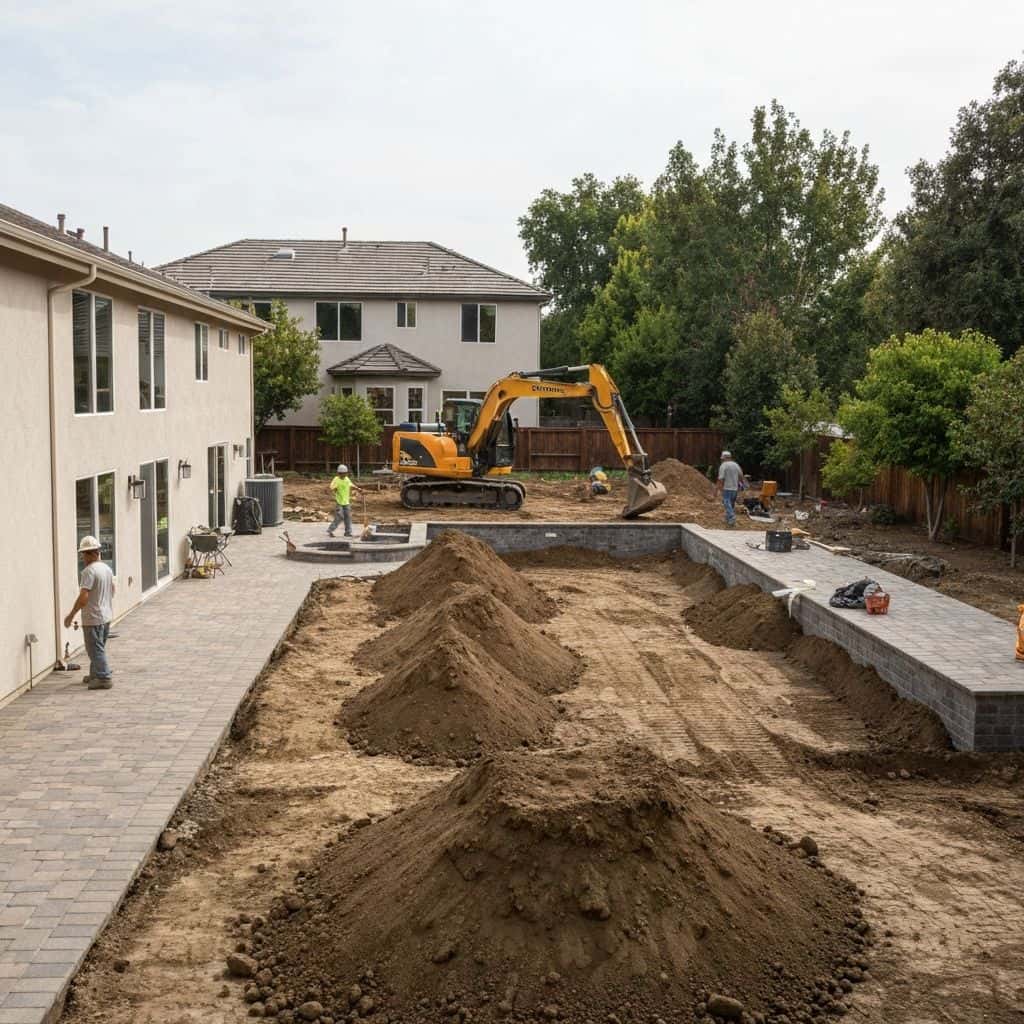
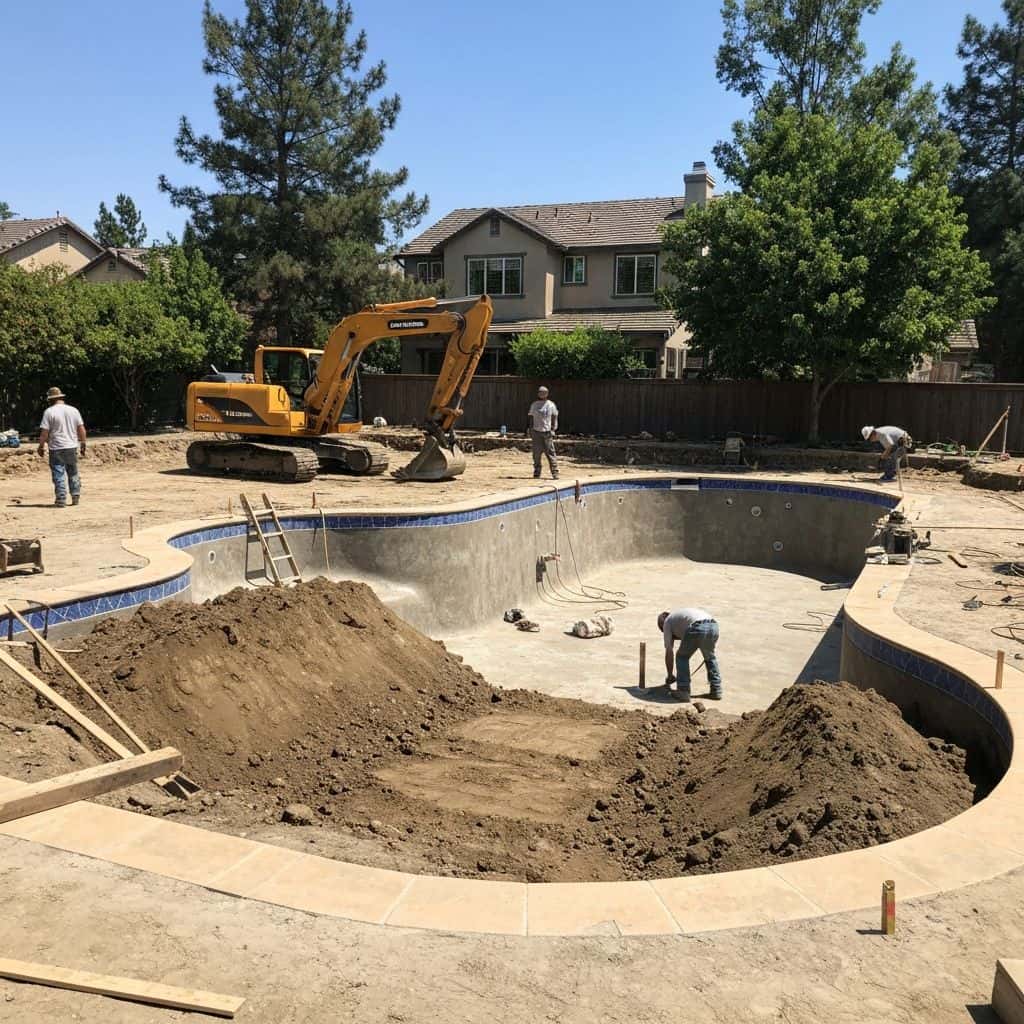
- Foundation and structural. Underpinning, new footings, retrofit bolting and shear bracing, steel beams where walls are being removed, and any framing for additions. This work involves heavy equipment and vibration. It cannot happen around finished surfaces.
- Framing changes. All wall removals, new openings, new partitions, and any change to the roof structure. The floor plan is now fixed. Changing it after this point cascades into every trade that follows.
- Roof. New roofing, flashing and any skylights. If the roof leaks during construction, everything below it gets ruined. In Southern California the temptation is to defer the roof because it rarely rains, but a single January storm on an unroofed remodel costs more than the roof did.
- Windows and exterior doors. Installed and flashed correctly into the weather-resistive barrier. This closes the envelope.
- Exterior waterproofing, stucco or siding.
- Drainage and site grading. Get water moving away from the foundation before you finish interiors.
At the end of this phase you have a dry, structurally correct, weather-tight shell with the final floor plan.
Pro Tip
Roof before interior finishes, always. There is no version of this project where deferring the roof saves money.
Ready to Start Your Project?
Schedule a free consultation with our design team.
Phase 3: Rough systems in the right order
With walls open, all three systems go in, but not simultaneously, and not in arbitrary order. Physical constraint dictates the sequence.
- HVAC first. Ducts are the largest and least flexible thing in the wall and ceiling cavities. A 14-inch trunk duct cannot route around a pipe; a pipe can route around a duct. Set the duct runs, the equipment location and the return path first. Include Title 24 duct sealing requirements in the plan.
- Plumbing second. Drain, waste and vent lines are next least flexible because they require gravity fall. Set the DWV first, then supply lines, which are flexible and can go almost anywhere. This is when a whole-house repipe happens if the investigation found galvanised supply.
- Electrical last. Wire routes almost anywhere. Doing electrical last means the electrician works around fixed constraints rather than creating them. Include all low-voltage at the same time: data, speaker wire, security, and conduit for anything you might want later.
Inspections happen at the end of this phase, plus a framing inspection. Nothing gets covered until they pass.
A whole-house rough on 2,000 sq ft: HVAC $22,000 to $45,000, plumbing $25,000 to $55,000, electrical $22,000 to $45,000.
Pro Tip
Walk the house at rough stage with a floor plan and physically stand where every switch, outlet and light will be. It is the last moment changing them is free.
Phase 4: Closing up and finishing
Once inspections pass, the sequence becomes largely one-directional.
- Insulation: walls and ceilings, to Title 24 values. Inspection follows.
- Drywall: hang, tape, texture. Dusty and disruptive; nothing precious should be in the house.
- Interior doors and trim (or after flooring, depending on flooring type).
- Prime and first coat of paint: before flooring, because painters are messier than floor installers.
- Flooring. Hardwood, tile or LVP. Tile goes first in wet areas so vanities and toilets sit on it.
- Cabinetry: kitchen and bathrooms, set level on finished floor.
- Countertop template and fabrication: a hard 10 to 14 day wait after cabinets.
- Backsplash and remaining tile.
- Plumbing and electrical trim: fixtures, faucets, switches, outlets, light fixtures.
- Appliances.
- Shower glass: measured after tile, 7 to 14 days to fabricate.
- Final paint touch-up, hardware, mirrors.
- Final cleaning, then final inspection and certificate.
Two warnings. Do not install hardwood flooring before the house has been dried in and conditioned for a couple of weeks. Wood needs to acclimatise or it moves. And do not let anyone talk you into installing cabinets before flooring in a kitchen where the floor runs continuously; the toe kick height and the dishwasher opening will fight you.
Pro Tip
Keep the final paint touch-up crew for the very end, after every other trade has finished damaging the walls.
If you have to phase the work over years
Many homeowners cannot do the whole house at once. Phasing works, but only in the right order.
Do first, regardless of what you care about:
- Sewer lateral, if it failed the camera. Everything else is at risk from it.
- Roof, if it is near end of life.
- Electrical service and any knob-and-tube rewire. It is a fire risk and it blocks every later improvement.
- Foundation and seismic retrofit. In Southern California this is both structural and insurance-relevant.
- Drainage.
Do second:
- Windows, insulation and envelope. These improve comfort immediately and are disruptive later.
- HVAC replacement.
Do last:
- Kitchen.
- Bathrooms.
- Flooring throughout.
- Exterior and landscape.
The logic is unglamorous but firm: infrastructure first, rooms second. A homeowner who remodels the kitchen in year one and repipes in year three pays to demolish part of the kitchen. We see it constantly.
One exception worth naming: if you are doing a kitchen or bathroom now and know a repipe or rewire is coming, do that section of the repipe as part of the room's rough stage. The walls are already open.
Pro Tip
When phasing, always run conduit and stub systems for the later phases while walls are open. It costs almost nothing now and saves demolition later.
Final Thoughts
Whole-home remodel sequencing follows one rule: nothing closes until everything that has to open is done. Investigate the sewer, panel, structure and hazardous materials before design. Get the shell structurally sound and dry before any interior work. Rough HVAC, then plumbing, then electrical, in that order for physical reasons. Then close up and finish in one direction only. Phased over years, do infrastructure first even though kitchens are more satisfying. The order is what protects the budget.
Frequently Asked Questions
Investigation, then structure and envelope. Camera the sewer, check the electrical panel and wiring, assess the foundation, test for asbestos and lead, and check the roof. Then complete foundation work, framing changes, roofing, windows and exterior weatherproofing before any interior work begins.
HVAC first, plumbing second, electrical last. Ductwork is the largest and least flexible element in wall and ceiling cavities, so it sets the constraints. Drain and vent piping needs gravity fall so it comes next. Electrical wire routes almost anywhere, so the electrician works around what is already fixed.
Flooring first in most cases, so cabinets sit on the finished floor and appliance openings work out at the correct height. Paint the first coat before flooring, because painters make more mess than floor installers. Hardwood should acclimatise in the conditioned house for a couple of weeks before installation.
Roughly $200 to $450 per square foot depending on scope and finish level, so $400,000 to $900,000 on a 2,000 sq ft house. Structural work, a full repipe, a rewire and a sewer lateral replacement can each add $8,000 to $55,000 on top of that baseline.
Yes, but the order matters more than in a single-pass project. Do sewer, roof, electrical service, foundation and drainage first. Then windows, insulation and HVAC. Kitchens, bathrooms and flooring come last. Remodelling a kitchen before a needed repipe means demolishing part of the new kitchen later.